I learn many things in my German class. Last week I learned that, despite my protests, apples cannot be made into "confiture". Apfelmus, ja, Apfelconfiture, nein. Perhaps this because "apple butter" has not yet infiltrated this otherwise apple-saturated region. But to an American (or at least this American), apple butter is synonymous with autumn and must be consumed for this season to be properly celebrated. In case you were wondering, applesauce is cooked apples processed in a blender or a food mill, while apple butter takes this a step further adding spices and cooking the applesauce down into a thick, gooey spread. And unlike jam or preserves, you don't add pectin to fruit butter.
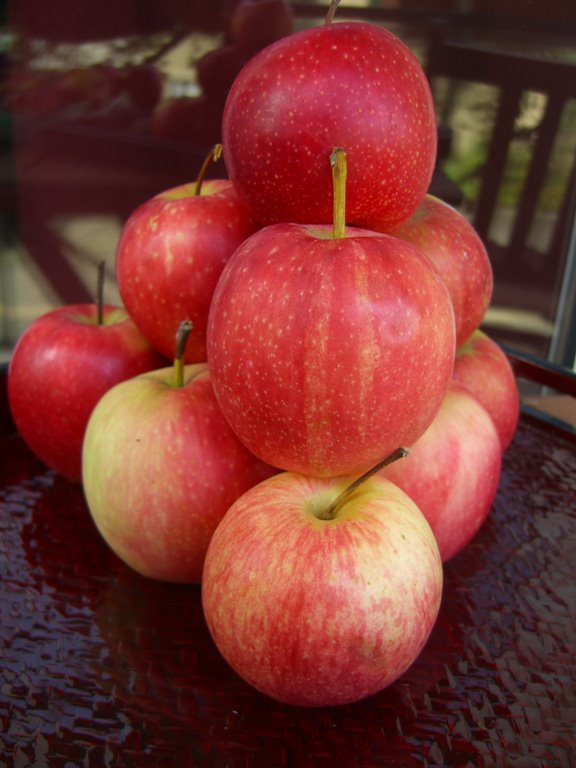
 I tripped over boxes of Elstar apples at my corner grocery, priced at 5 kilos for 5CHF. I'd never heard of this apple variety before, but at the price, I could afford a gamble. What a find! This apple tasted like an apple.
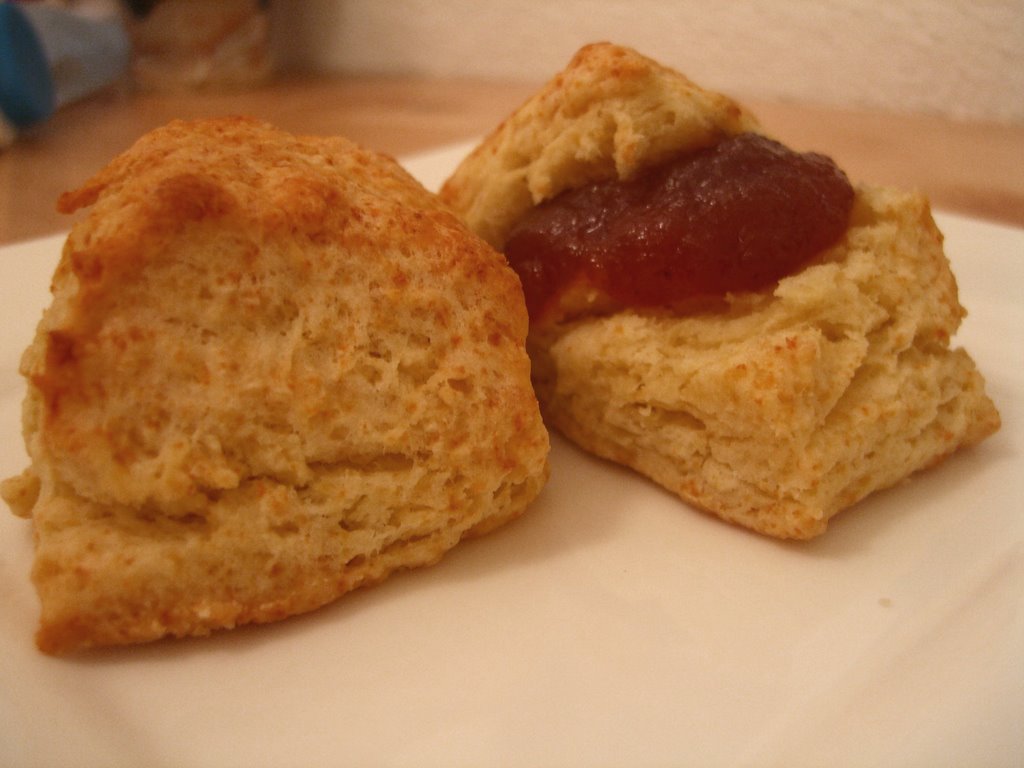
Seriously, just think about exactly what an apple should taste like and this apple tastes like that. It was almost surreal. Of course, the perfect eating apple doesn't always make the perfect baking apple (link to apple chart). But I was willing to try. Three days and 12+ hours of slow simmering later, my 5 kilos had shrunk into 1 quart of mouth watering goodness just waiting for me to bake some biscuits on which to eat it (recipe below). Now I'm inspired to make more fruit butters. I think I'll start with plum and pumpkin.
Most recipes are generally the same:
- peel and chop apples
- simmer with some cider until apples break down
- add sugar, lemon juice, and spices (cinnamon, cloves, allspice)
- simmer on lowest heat until desired consistency (6-12 hours)
- can it, processing for about 10 minutes
 Here's one recipe I used as reference. My experience shows that specific proportions and time are not particularly important. This is definitely a recipe you can feel and taste your way through, even if you're not that type of cook (I am not that type of cook). However, there are some important things to note:
- don't add too much liquid/cider. The more you add, the more you have to simmer that sauce to evaporate it out. Start with just a little liquid so the apples don't stick and add more at the beginning (first hour) if you feel the need. Again, most recipes call for much more than you really need
- don't add too much sugar. Many recipes called for 2-1 apples to water ratio. I added half this much and wondered if I still had added too much.
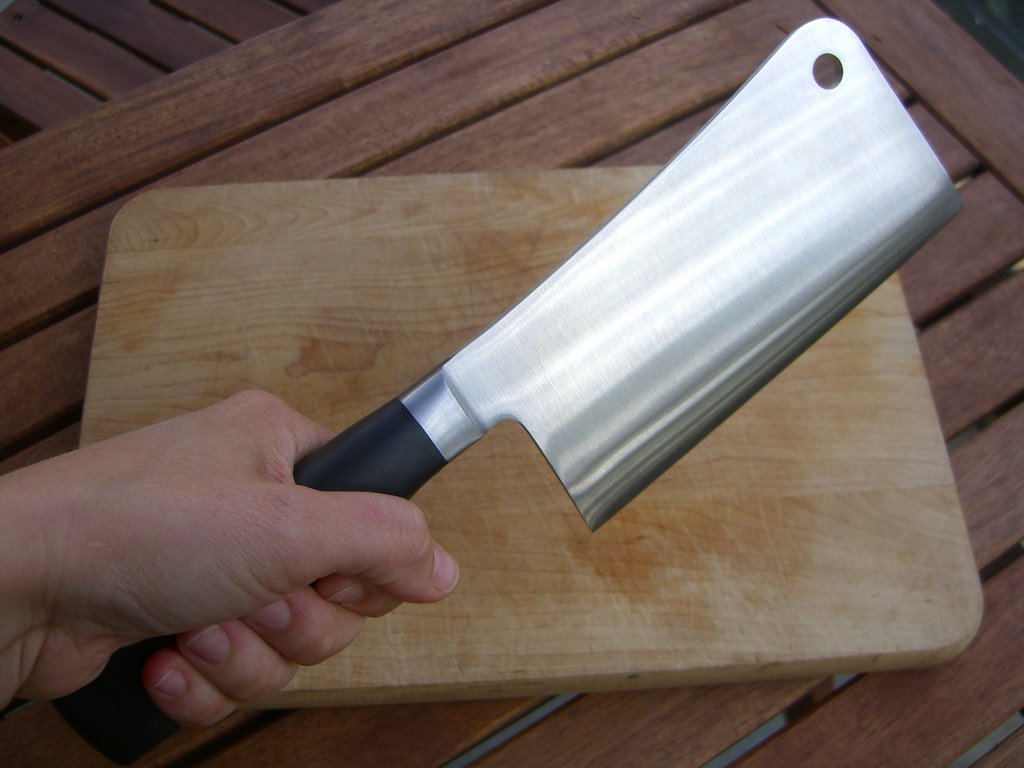
- just give in and buy that food mill - the plastic Mouliere model is inexpensive but solid. You'll be thanking yourself every time you have don't have to spend an hour shoving some stupid sauce or chili paste through a stupid sieve. Just do it!
- experiment with the flavoring - I've seen recipes call for ginger, molasses, red hots. If you make a lot, separate it into different batches near the end and add different spices
P.S. I recently read that most apples we consume are over 6 months old, having been placed in man-made hibernation. Yuck. Check the story.
P.P.S. This site has a very comprehensive guide on apple varieties: http://www.applejournal.com/use.htm
Buttermilk Biscuits
Adapted from Cook's Illustrated. Makes 1 dozen
2 cups unbleached all-purpose flour
2 teaspoons baking powder
1/2 teaspoon baking soda
1 teaspoon granulated sugar
1/2 teaspoon table salt
8 tablespoons unsalted butter chilled, cut into 1/4-inch cubes
3/4 cup buttermilk plus 2 - 3 tablespoons additional, if needed
1. Set rack at middle position and heat the oven to 450°F (230C).
2. Mix or pulse first 6 ingredients in a large bowl or the workbowl of a food processor fitted with steel blade. With your fingertips, a pastry blender, 2 knives, or steel blade of the food processor, mix, cut, or process butter into the dry ingredients until mixture resembles coarse meal with a few slightly larger butter lumps.
3. If making by hand, stir in buttermilk with a rubber spatula or fork until mixture forms into soft, slightly sticky ball. If dough feels firm and dry bits are not gathering into a ball, sprinkle dough clumps with additional tablespoon of buttermilk. Be careful not to overmix. If using food processor, pulse until dough gathers into moist clumps. Remove from food processor bowl and form into rough ball.
4. With lightly floured hands, knead a couple times to make a cohesive mass (it will be sticky!). Then press into a square. Use a bench scraper (or knife) to divide dough into 12 equal portions. Place 1 inch apart on ungreased cookie sheet or pizza pan. Brush dough tops with melted butter or milk. (May be covered with plastic wrap and refrigerated for up to 2 hours.) Bake until biscuit tops are light brown, 10 to 12 minutes. Serve immediately.